
Hey there, fellow tech explorers! Today, we’re diving into the nitty-gritty of uninstalling Java from your system. Whether you’re freeing up space or just tired of those pesky update reminders, we’ve got you covered.
Why Bother Removing Java?
Java has been around since the ancient times of 1995—yes, it’s been that long! Back then, it revolutionized the web with its “write once, run anywhere” mantra. But times change, and so do our needs. Removing Java can speed up your computer and even enhance security by eliminating potential vulnerabilities.
Step 1: Getting Ready
First things first, grab a cup of coffee—Java-themed, of course—and let’s get prepared.
Back It Up, Back It Up Before you start messing with Java, make sure to back up any important files. Trust me, you don’t want to accidentally delete something crucial.
Close Those Sneaky Java Apps Check your task manager (Ctrl+Shift+Esc for you Windows folks) and shut down any lurking Java applications. They can be sneaky little buggers.
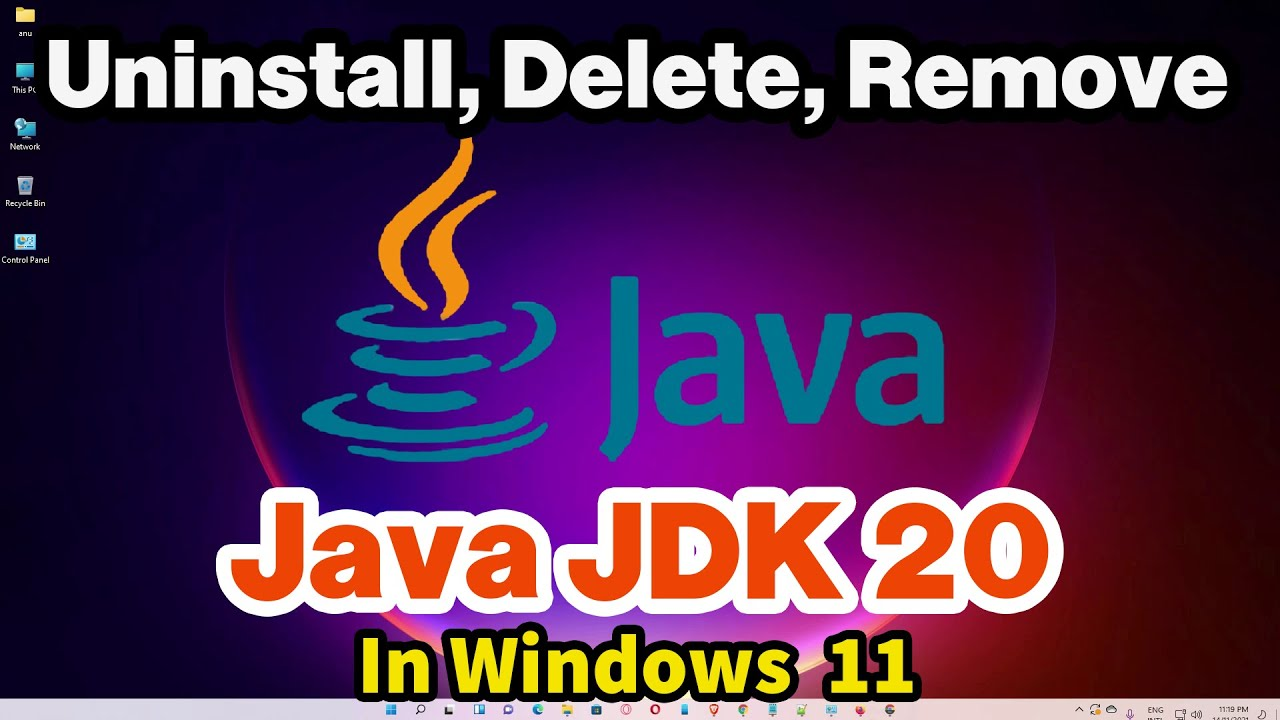
Step 2: Bid Farewell to Java on Windows
Windows, oh Windows, you’re up first!
Control Panel Magic Head over to your Control Panel. It’s like the backstage pass to your computer’s soul. Look for “Programs” and then “Programs and Features.” Find Java in the list, click uninstall, and voila!
When All Else Fails: The Java Uninstaller If Java is being stubborn (like that one friend who never leaves the party), grab the Java uninstaller tool from their official site. It’s like the ultimate eviction notice.
Step 3: The Apple Way: Removing Java on macOS
Mac lovers, fear not! Here’s how you bid farewell to Java on your sleek machines.
Terminal Tango Open up Terminal (you know, that cool black screen where magic happens). Type in the commands to purge Java from your system. Poof! It’s gone.
Step 4: Linux, We Got You Covered
Linux aficionados, you’re not forgotten. Here’s your command-line adventure to remove Java:
Command Line Chronicles Open your terminal of choice (Konsole, Terminal, take your pick) and unleash the power of sudo apt-get purge openjdk*. Bye-bye, Java!
Step 5: Double-Check Your Work
Just to be sure Java got the memo and left the building:
Checkmate: Verifying Java’s Departure Run a quick check to ensure Java is nowhere to be found. No traces left behind!
Conclusion: You Did It!
Congratulations, you’ve successfully bid adieu to Java! Now you can enjoy a cleaner, faster system without those Java update pop-ups nagging you every few days. Treat yourself to another cup of coffee—you deserve it.
Extra Fun Facts and Tips
- Did you know Minecraft runs on Java? It’s like the game that just won’t quit.
- Java’s mascot is a coffee cup. No wonder it’s so hard to remove—it’s deeply ingrained in our digital caffeine culture.
- Java updates used to be a monthly thing. Talk about commitment!
Final Thoughts
Remember, removing Java isn’t just about decluttering your system—it’s about staying secure and up-to-date with modern tech trends. Embrace the change, and who knows? Maybe next time we’ll tackle uninstalling Python or saying goodbye to Windows XP (if anyone’s still using it). Stay tech-savvy, my friends!